为博客加入看板娘,宠物
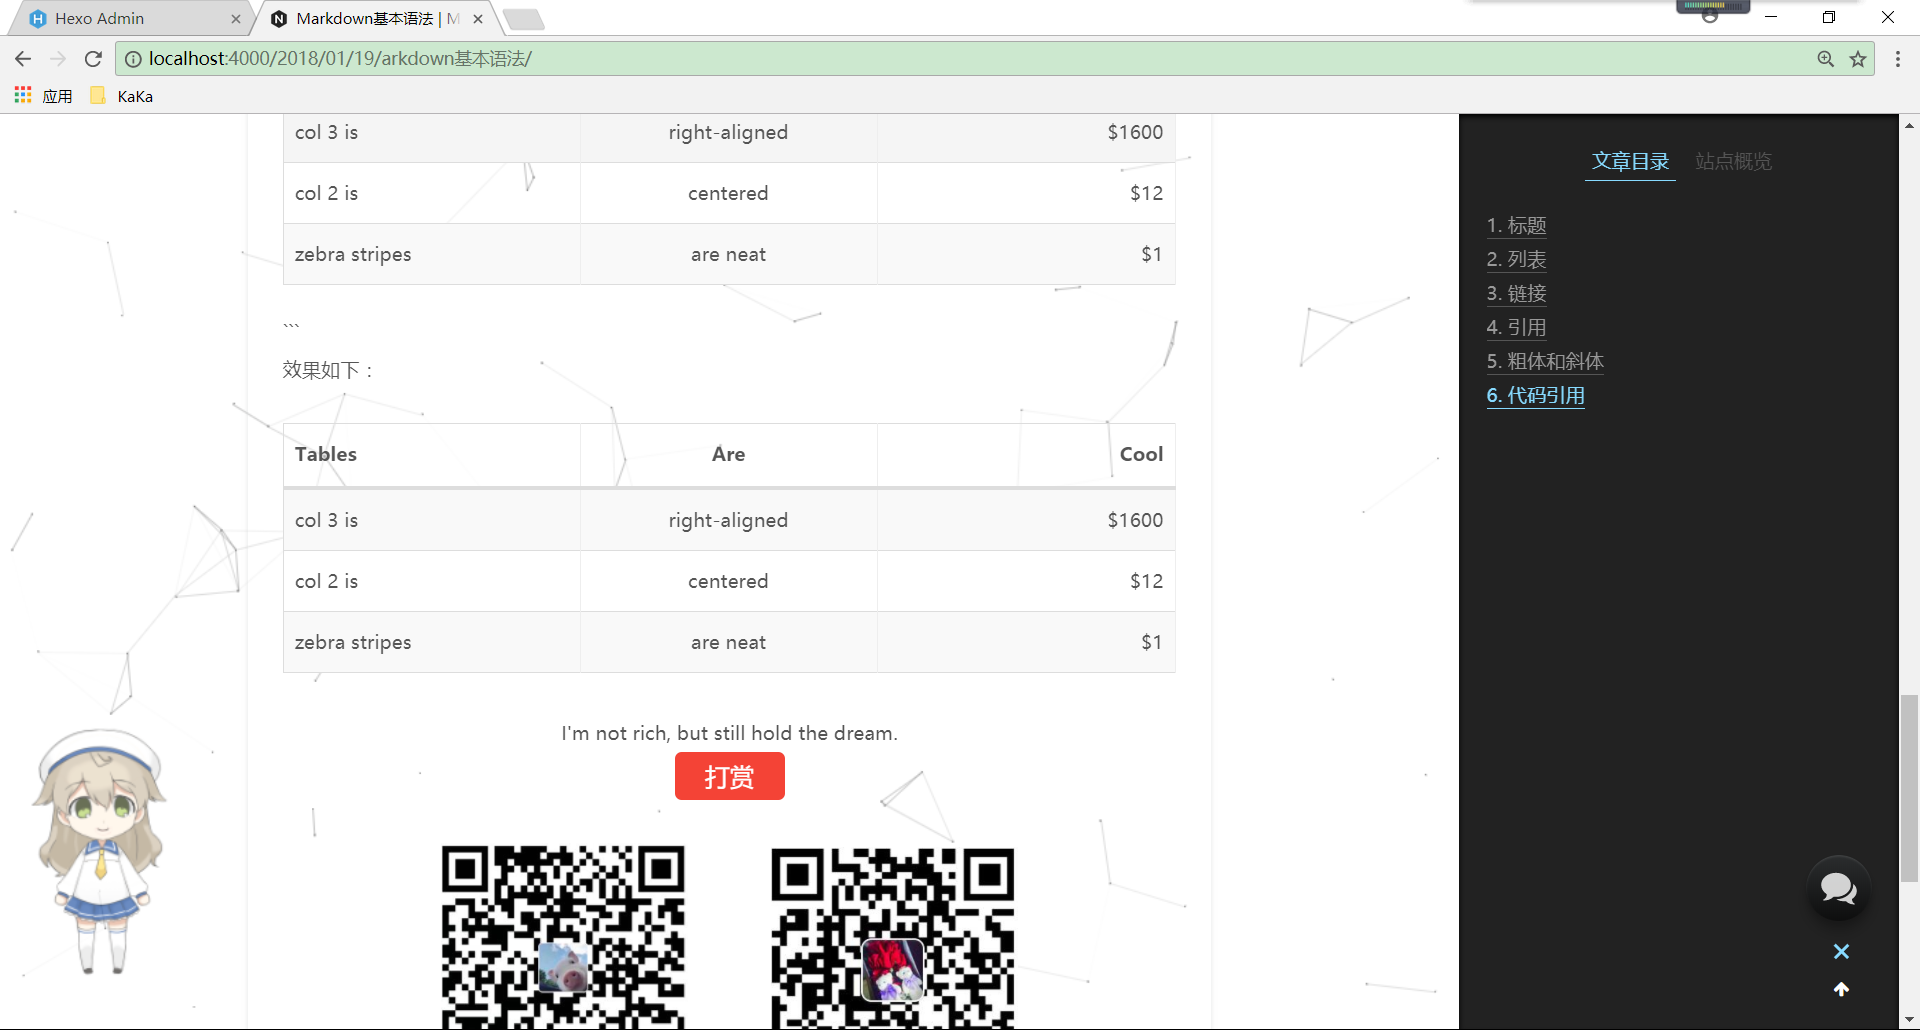
效果图如下:
具体实现方法
- live2d插件安装
1
npm install -save hexo-helper-live2d
注意:需要在项目的根目录下执行哦
然后打开
Hexo/blog/themes/next/layout
的_layout.swig,将下面代码放到</body>之前:1
{{ live2d() }}
然后在在
hexo的_config.yml中添加参数:1
2
3live2d:
model: wanko
bottom: -30如果想让宠物在移动端不显示的话再
主题配置文件中加入以下代码:1
2
3
4live2d:
model: wanko
bottom: -30
mobileShow: false
这样就配置成功了!
live2d的详细配置解释
- live2d的项目地址在这里
- Settings
1
2
3
4
5
6
7
8
9
10
11
12
13
14
15
16# Live2D
## https://github.com/EYHN/hexo-helper-live2d
live2d:
model: z16 # 展示模型的代码. 默认: z16
width: 150 # 这个模型的宽度. 默认: 150
height: 300 # 这个模型的高度. default: 300
scaling: 1 # 分辨率缩放. default: 2
opacityDefault: 0.7 # 透明度. default: 0.7
opacityHover: 1 # The opacity when hover. default: 1
mobileShow: true #是否在移动设备上显示. default: true
mobileScaling: 0.5 # The scaling on mobile. default: 0.5
position: right # 模型所在网页的左边还是右边. default: right
horizontalOffset: 0 # 横向偏移量. default: 0
verticalOffset: -20 # 纵向偏移量. default: -20
id: live2dcanvas # live2d元素的ID. default: live2dcanvas
deviceJsSource: local # 当前设备脚本的源代码. default: local


